


Having recently migrated from a Linux/macOS based workplace to a Windows-based one, I found one thing to be lacking - a lightweight Git prompt for all that terminal-based Git goodness, in a terminal that supports tabs.
Journey to the prompt
Having cycled between Windows Command Prompt and PowerShell without much in the way of customizability or niceties like tabs or highlighting, it's safe to say I needed to solve this problem before they drove me to insanity, having tasted the simplicity and customisation of Unix-based terminals.
After some research, I took a chance on GitBash. Whilst it definitely provides an experience similar to the zsh-git-prompt I was used to on macOS and Linux, I found its customizability, user experience, and performance to be lacking somewhat - often dealing with it becoming slow to load the prompt after a short while, requiring a reboot to inject some life back into it. Not ideal.
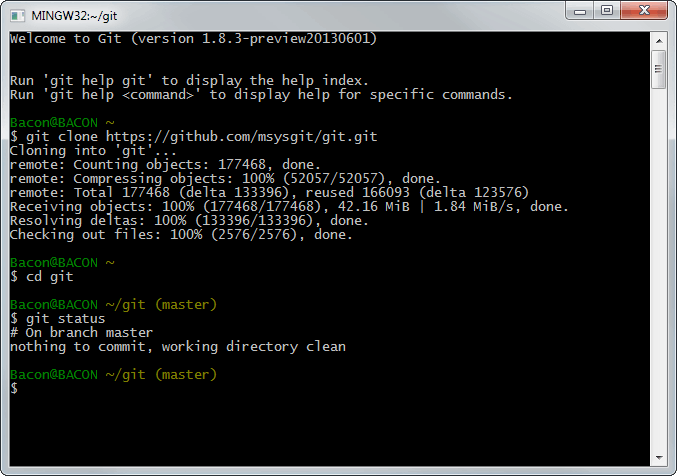
GitBash - Bash shell emulation for Windows environments
I continued my search and came across ConEmu, which rather than being a shell itself, simply provides terminal nice-to-haves over the top of the shell or terminal you wish to run. For a while, it suited what I needed - tabs for any shell I so desired. But again, it wasn't long until I started to feel bogged down by its occasionally slow loading times and complicated interface.
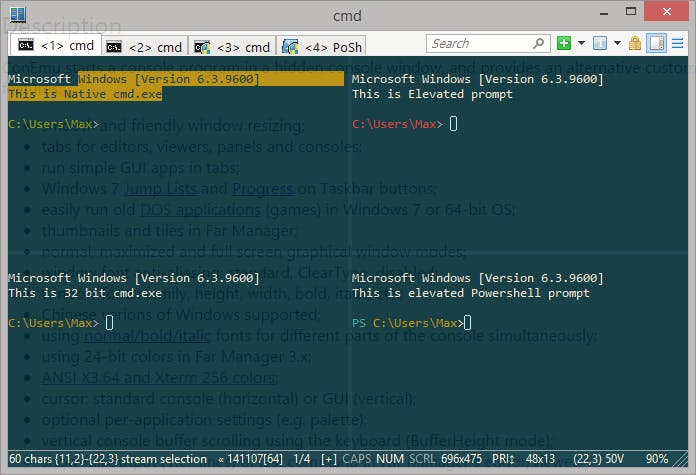
ConEmu - Tabs, but on Windows
Thankfully, it's as though the folks at Microsoft heard my quarrels. So loud were they that they reverberated through time, all the way back to May 2019 when they released and open-sourced Windows Terminal.
Having installed it from the Microsoft Store and revelled in the beauty of its tabs, multiple shell profiles, and its semi-transparent window, I set about finding a suitable package to provide a nice Git-smart prompt and found Powerline. Looks pretty swanky, eh?
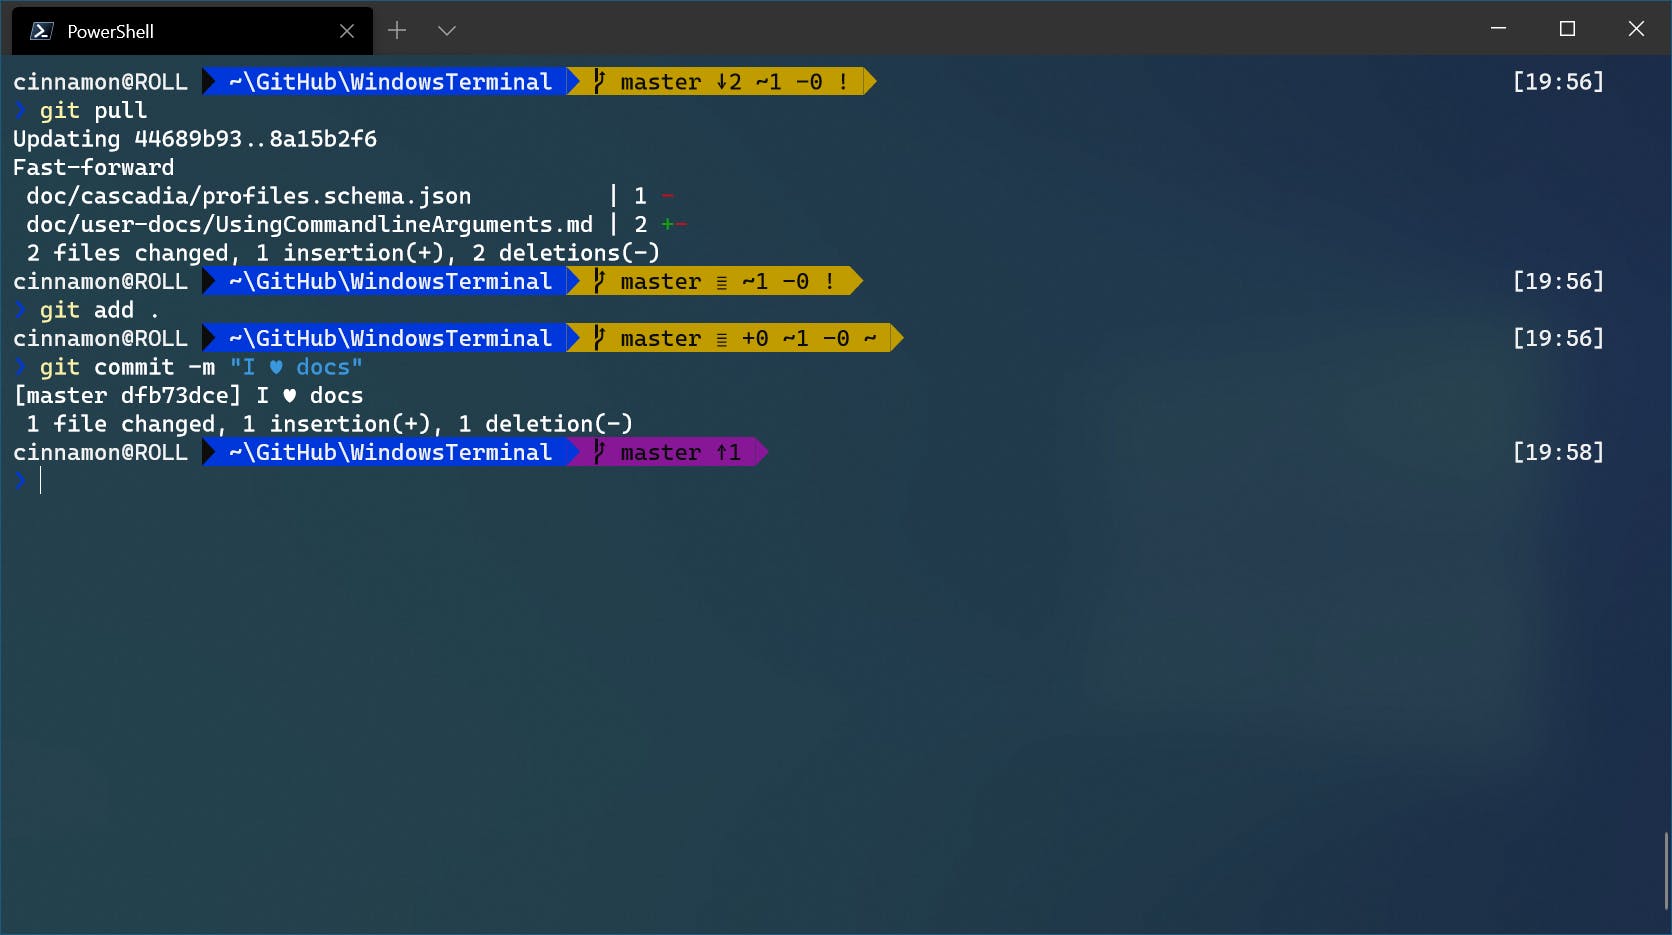
PowerLine for PowerShell - Git prompt
Installing PowerLine
The first step is to install Git, if you've not already. You can download the installer from the Git website, here.
Next, we'll install the packages which make up the Git prompt. Open a PowerShell prompt and paste the below in. If you get notices about untrusted repositories, then confirm you still wish to install. You may also be prompted to install NuGet, if it's not already installed, in order to install these packages. Again, confirm you'd like to install it.
Install-Module posh-git -Scope CurrentUser
Install-Module oh-my-posh -Scope CurrentUser -RequiredVersion 2.0.412

# If you're on PowerShell Core, use this instead
Install-Module -Name PSReadLine -Scope CurrentUser -Force -SkipPublisherCheck
Setting up PowerLine
Profile
In order to run these plugins each time we start a PowerShell window, we need to set or amend our PowerShell profile, which we can think of as a configuration script called upon PowerShell's launch. You can learn more about Profiles, here.
We can use the below PowerShell command to check whether we have a profile already, which will either return True or False. If it's true, we can open the profile for editing using notepad $PROFILE in a PowerShell window.
Test-Path $PROFILE
If one doesn't already exist, let's create one with the below command, and likewise, use notepad $PROFILE to open it for editing. Note that -Force here will overwrite any existing default profile, rather than create a secondary one, just in case you want to create a second profile.
New-Item -Type File -Force $PROFILE
Once we've got our profile open for editing, we can paste the below configuration into our profile, when using v2 of posh-git. If you omitted the -RequiredVersion 2.0.412 line during installation in favour of v3, of if you've upgraded to v3, then I found you'll need to replace Set-Theme paradox with Set-PoshPrompt -Theme paradox.
Import-Module posh-git
Import-Module oh-my-posh
Set-Theme paradox
Save and close your editor, load a new PowerShell terminal and you should see the prompt. If you run into an error along the lines of the below, then you can resolve this with the PowerShell command under the error.
File: ...My Documents\WindowsPowerShell\Microsoft.PowerShell_profile.ps1 cannot
be loaded because running scripts is disabled on this system. For more information, see about_Execution_Policies at
http://go.microsoft.com/fwlink/?LinkID=135170.
Set-ExecutionPolicy -ExecutionPolicy Unrestricted -Scope CurrentUser
PowerLine Glyphs
Now that we've got the prompt up and running, let's get those glyphs installed so we don't have to keep looking at those nasty Unicode placeholder characters ('▯'). To do this, we're going to install a new font package and enable it in our shell JSON configuration file.
First, download the font package from the bottom of the project's GitHub Release page. Once it's downloaded, open the archive and install each font in the ttf folder by double-clicking each .ttf file to open the font previewer, then click Install.
Once installed, we can set the terminal font to one including glyphs to have them render properly. Open the settings by navigating to the Settings page in Windows Terminal. At the bottom of the sidebar, you'll file the Open JSON button. Once open, search for the below lines to find the area we want to define the font face in.
"name": "Windows PowerShell",
"commandline": "powershell.exe",
Once you find it, paste in this line below the commandline property and voila - that's it. Once you've done that, flick back to your terminal and you should see glyphs 🎉🎊
"fontFace": "Cascadia Code PL",
So there you go!