

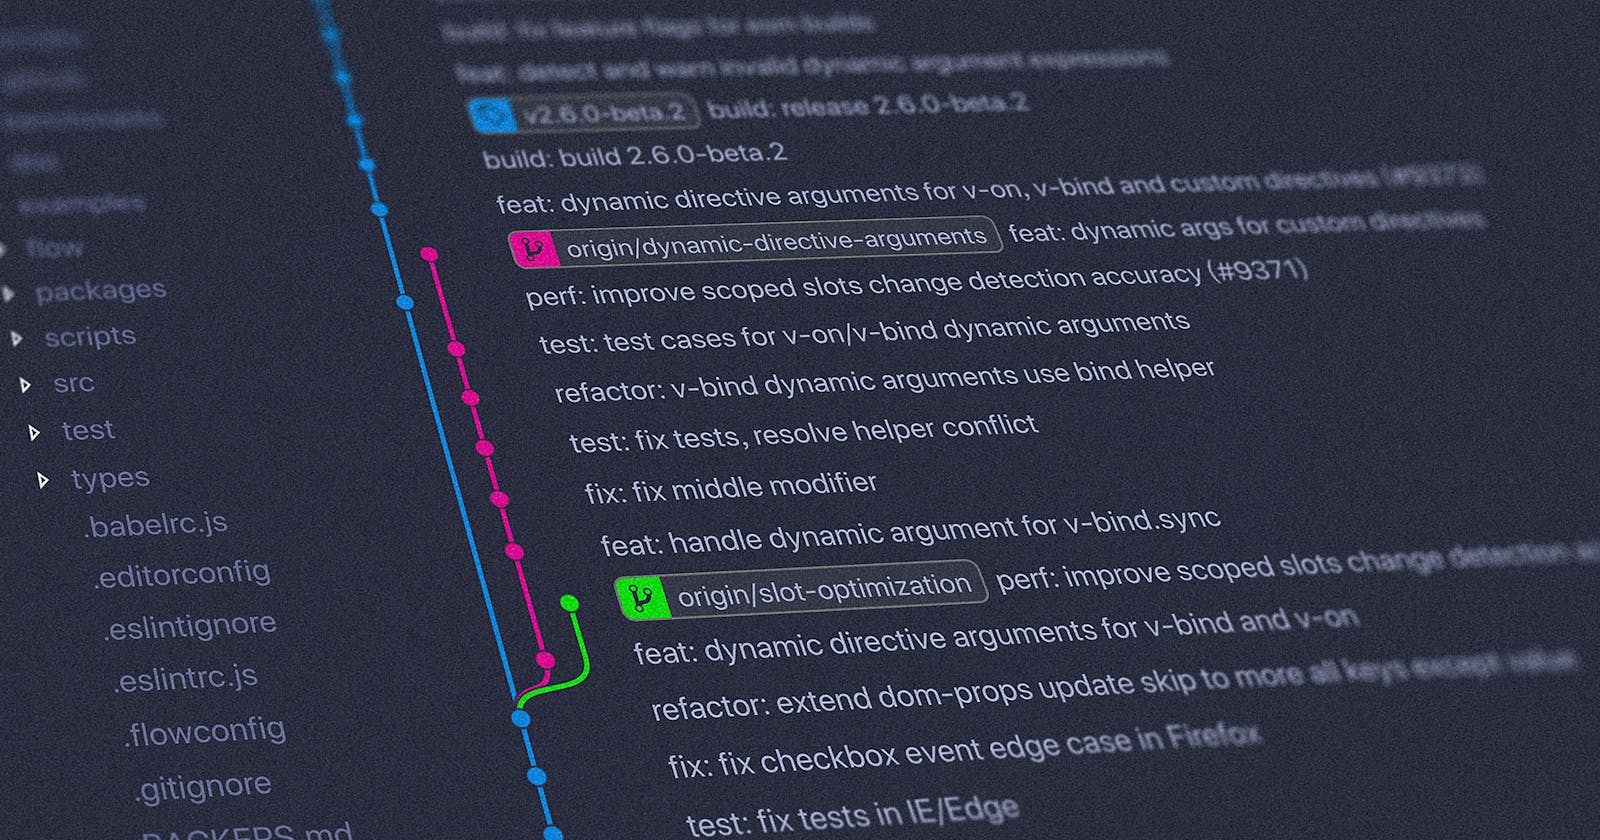


Version control isn't a new concept to most coders - heck, certainly not the industry. In general, it has long been the backbone of many aspects of development, engineering, and particularly now DevOps - and yet, fundamentally, the tools providing this service don't tend to change a great deal, nor have to contend with new competition very often.
Despite this, one thing that's changed for certain is the rise and modern domination of a particular version control tool - Git. But despite its age, I often find that for those entering the industry or just discovering Git, although conceptually straightforward, it's often found to be less straightforward in practice for novices and the aquantied alike.
What's this article about?
What we'll discuss in this article is how we use Git. We shan't stray too deep into the inner workings of Git just yet. That's a fascinating topic in and of itself, so I'll explore that later (adds to backlog).
Source: XKCD
What is Version Control?
Version control systems (VCS) (or source control management [SCM]), are a class of software tools that are designed to track and manage changes to files and their contents. They range from simple first-generation in-directory storage systems (such as RCS, where the changelog is retained alongside the folder containing the tracked files) to distributed systems like Mercurial, Git, and more.
What's the difference between a distributed and non-distributed VCS, you might wonder? Well, remember when you were in school and the teacher would leave a pile of copies at the front of the classroom for students to take as they entered? You can think of that as distributed VCS - the teacher has the master file on their laptop, but each student gets an exact copy of the whole document to put pencil to paper and make changes to. The inverse, non-distributed, you can imagine the teacher having a single copy in which all students have to coordinate changes to the various pages one at a time. It'd work, sure, but it's not very efficient, which is what systems such as SVN, OpenCVS, and Microsoft TFS/VSTS are - centralised VCS. Now the differences are clear, we see the problem DVCS' solve - each engineer has their own full copy of the codebase to make their changes independent of others, which are later coordinated back into the master version. In fact, IBM has a great comparison of these differences with more detail, here.
So what makes Git so special?
First things first, let's be clear - Git isn't a new tool. Git was written in the early 2000s by Linus Torvalds, the original engineer behind the Linux kernel (and thus the elaborate Linux ecosystem that evolved). Although it's seen improvements and additions over its life, it exploded into popularity when cloud-based services such as GitHub, BitBucket, and GitLab were born, wrapping around the already powerful distributed version control tool to increase its accessibility whilst simplifying and enhancing the centralisation, collaboration, and sharing of codebases.
But Git didn't become the industry standard just because it's free and open-source - it's also thanks to some clever engineering which makes it fast and lightweight, whilst delivering a VCS that's fully distributed, has a strong focus on non-linear changes (better known as branching), and is simple and accessible to use for most use-cases but can easily handle large projects. If you want to know more, there's a great interview Linus from the Linux Foundation that I highly recommend.
Core concepts of Git
So let's get to how you use it. To demonstrate the points in this article, I'll be using Git from the command line to best demonstrate its powers and highlight some very useful options worth remembering. But, the concepts, processes, and methods we'll cover still apply to GUI-based Git tools such as GitHub for desktop and so on, to some degree.
For any of the commands we use, remember that you can always use git [command] --help to get a description of it with a list of its available options and what they do. If you need more, the folks at Atlassian have got your back - checkout their cheatsheet!
Creating a Repository
Think of a repository as a bucket for your files. It's the combination of your files and Git's which make up the repository and allow Git to do the heavy lifting, managing and tracking changes to those files. The commits make up the repository - they are for different versions of your files and thus the project(s) they're a part of.
foo@bar ~/opt/projects: (123-feature-fizzbuzz)
$ git init
This will create a folder within your directory called .git/, which as you might have guessed, is where Git tracks your changes and manages them according to your actions.
Untracked changes
Untracked files are anything that Git can see, but which you've not told it to track changes for. For example, if you add a new file to your repository called example.js, Git will recognise that this file hasn't previously been committed to the repository and hasn't been staged for commit.
foo@bar ~/opt/projects: (123-feature-fizzbuzz)
$ git status
On branch x-feature-backend
Your branch is ahead of 'origin/123-feature-fizzbuzz' by 1 commit.
  (use "git push" to publish your local commits)

Untracked files:
  (use "git add <file>..." to include in what will be committed)

    example.js

nothing added to commit but untracked files present (use "git add" to track)
Staging Area
Have you ever been in an Airport where you have to get a tram, train, or bus to your gate and the boarding area has two sections - one for passengers waiting to board future transport, and another where passengers will board the next transport? Often, there's a gate between them such that a limited number of passengers can board the next transport at one time, preventing anyone else from boarding.
The staging area in practice, isn't too dissimilar. It's the gated platform where our passengers (files and changes) are waiting to board (to be committed). We might only want to capture certain changes for a commit, such as associated changes like adding an input field into a presentation layer file and adding the method flow to add that information to the database. Or, we might want to separate multiple changes in the same file into separate commits.
The staging area is a great addition which allows you to say "I'm done making changes to this file and want to be able to view the differences between this version and any future changes, but I'm not ready to commit just yet".
foo@bar ~/opt/projects: (123-feature-fizzbuzz)
$ git status
On branch 123-feature-fizzbuzz
Your branch is up to date with 'origin/123-feature-fizzbuzz'.
    nothing to commit, working tree clean

foo@bar ~/opt/projects: (123-feature-fizzbuzz)
$ git status
On branch 123-feature-fizzbuzz
Your branch is up to date with 'origin/123-feature-fizzbuzz'.

Changes not staged for commit:
  (use "git add <file>..." to update what will be committed)
  (use "git checkout -- <file>..." to discard changes in working directory)

    modified:   example.js

no changes added to commit (use "git add" and/or "git commit -a")
At this point, you might think "What'd I do in that file again?" - git diff [file] to the rescue. Here, you can see the difference between the last committed version (a), and your local changes (b).
foo@bar ~/opt/projects: (123-feature-fizzbuzz)
$ git diff
diff --git a/example.js
index e52f7f5..c48e9ba 100644
--- a/example.js
+++ b/example.js
@@ -15,7 +15,7 @@
- console.log("hello, World");
+ console.log("Hello, World!");
Now we know what staging is, and what we're staging, let's stage it!
foo@bar ~/opt/projects: (123-feature-fizzbuzz)
$ git add [ . | —all | —update]

foo@bar ~/opt/projects: (123-feature-fizzbuzz)
$ git status
On branch 123-feature-fizzbuzz
Your branch is up to date with 'origin/123-feature-fizzbuzz'.

Changes to be committed:
  (use "git reset HEAD <file>..." to unstage)

    modified:   example.js
Commits
You can think of a commit as a snapshot in time of the file(s) being committed. In fact, a commit is an immutable cryptographic SHA-1 hash of a combination of factors including
The commits source tree
Any parent commit hashes
The author
The committer
The commit message
Once created, it's essentially a tree lookup value to locate the previous and current state of the file(s) involved in the commit. In practice though, for most people, a commit is simply a way of persisting their changes to a branch to be shared with the origin repository. So, how do we create commits from our staged changes?
foo@bar ~/opt/projects: (123-feature-fizzbuzz)
$ git commit -m "Add a message to describe your changes"
[123-feature-fizzbuzz 793c4f6] Add a message to describe your changes
 1 file changed, 2 insertions(+)

foo@bar ~/opt/projects: (123-feature-fizzbuzz)
$ git log [--oneline]
commit 793c4f6ffcd55b8d9aa28192914e0ef6a09a8352 (HEAD -> 123-feature-fizzbuzz)
Author: cognophile <foobar@example.com>
Date:   Thu May 20 20:30:00 2021 +0100

    Add a message to describe your changes

commit ecad9131dfc5724db78ae822dfe6d58689e0f48e (123-feature-fizzbuzz)
Author: cognophile <foobar@example.com>
Date:   Sat May 15 16:50:09 2021 +0100

    Initial file commit
And there we have it - we've committed our changes locally. We're committed to our changes now... or are we?
Undoing changes
So you want to undo a commit, eh? Well, best make sure you're targeting the correct one. We can do this using the show command, but before that, we can optionally use log again as we saw above to identify the commit we need to target. If your commit messages are clear and describe the changes well (more about making commit messages useful here), then you should have enough information in the log to identify the commit you wish to undo.
If not, or in case you need extra assurance, you can inspect the changes a commit made to your branch using show and you'll get something along the lines of the below...
foo@bar ~/opt/projects: (123-feature-fizzbuzz)
$ git show 793c4f6f

commit 793c4f6ffcd55b8d9aa28192914e0ef6a09a8352 (HEAD -> 123-feature-fizzbuzz)
Author: cognophile <foobar@example.com>
Date:   Thu May 20 20:30:00 2021 +0100

    Add a message to describe your changes

diff --git a/Worrybook/Controllers/SettingsController.swift b/Worrybook/Controllers/SettingsController.swift
index 2dfeb3d..7ea5897 100644
--- a/example.js
+++ b/example.js
@@ -15,7 +15,7 @@
- console.log("hello, World");
+ console.log("Hello, World!");
Now we know how to view them, we can easily undo them in a few different ways. As described earlier, since commits are immutable SHA-1 hashes, we can't change them nor their contents, as to singularly identify changes and preserve history. But what we can do, is rewrite history or remove it.
The first method is revert. Simply put, revert is a commit to undo a commit, effectively reverting the file(s) and thus project back to a previous state by "cancelling" the changes in that commit.
foo@bar ~/opt/projects: (123-feature-fizzbuzz)
$ git revert HEAD
So, firing off the above command will create a new commit and thus pop up the commit window for you to review the commit and change details if desired. This could happily be pushed up to the origin since we've only added to the branch history rather than altering it.
Revert "Add a message to describe your changes"

This reverts commit 793c4f6ffcd55b8d9aa28192914e0ef6a09a8352.

# Please enter the commit message for your changes. Lines starting
# with '#' will be ignored, and an empty message aborts the commit.
# On branch master
# Changes to be committed:
#       modified:   example.js
#
The second is using reset which will remove the targeted commits and either retain the changes locally (--soft) or reset and dispose of them entirely (--hard), it, therefore, modifies the history of the branch, which is how it differs from reset.
So for example, we can reset our branch back to its HEAD (the latest commit on that specific branch), or we can reset a specific number of commits. You can even undo the undo with commands like $ git reset --hard HEAD@{1} if you change your mind or re-apply a hard reset. It may sound confusing now, but one day it'll come in handy.
foo@bar ~/opt/projects: (123-feature-fizzbuzz)
$ git reset --hard HEAD

foo@bar ~/opt/projects: (123-feature-fizzbuzz)
$ git reset HEAD^ --soft

foo@bar ~/opt/projects: (123-feature-fizzbuzz)
$ git reset HEAD~5 --soft
Here's the thing about reset - if just one person is working on a repository locally that's not synchronised to any remote systems, they'll have no issues. However, as soon as you're synchronising to a remote repository or coordinating our changes around others, reset is going to cause some headaches.
After you've removed changes with reset and attempt to push, Git will inform you that the local and remote copies of the branch have diverged and can't push up your changes. Essentially, the history of the local branch and the remote branch is different - we've removed a commit that is present on the remote branch. At this point, Git either expects you to pull those remote changes back into your local branch, or overwrite the history on the remote branch via the force flag of the push command.
It gets even more confusing if you've made additional commits after removing some, especially if you are working with others who've also published commits to the remote branch that you don't have. As a rule of thumb, avoid reset to avoid headaches and frustrated colleagues 😅 Same goes for push --force - until you're experienced with Git, avoid it else you might overwrite history that shouldn't be overwritten, especially when working with others.
Branching
A branch is essentially a collection of related commits. The commits act as nodes within a doubly-linked list (the branch), pointing to their predecessor and successor.
foo@bar ~/opt/projects: (123-feature-fizzbuzz)
$ git branch [--remote | --all]

foo@bar ~/opt/projects: (123-feature-fizzbuzz)
$ git branch --delete

foo@bar ~/opt/projects: (123-feature-fizzbuzz)
$ git branch -m oldBranchName newBranchName
foo@bar ~/opt/projects: (123-feature-fizzbuzz)
$ git branch 456-bugfix-newBranch && git checkout 456-bugfix-newBranch

foo@bar ~/opt/projects: (123-feature-fizzbuzz)
$ git checkout -b 456-bugfix-newBranch
Summary
That should be enough insight to springboard you to get to grips with Git, particularly if you're working alone on local projects. We've covered repositories and their creation, the various places Git does and doesn't track our files, and creating and altering the history of commits. But this is far from all Git can do - but it is all that can be fit into one article without overloading or boring you.
In the next one, we'll look at merging, rebasing, and collaborative use of Git. In the meantime, get Git installed, hit the terminal, and get practising ✌️